Well, continuing with the series of post years in draft.. this is from 2018/2019. How to provision, setup and publish a .Net Core development server (Ubuntu 1804) in Azure
VM Provision
In this example I’m using Azure but the same steps could be applied to any Ubuntu 1804 server
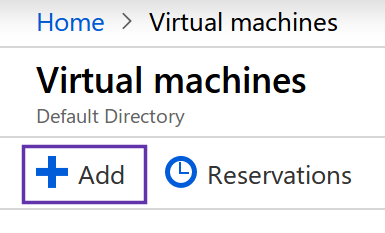
We will skip some steps here Home > Virtual Machines > Add
In this case I have created a Standard B2s (2 vcpus, 4 GB memory)
The steps to create a VM are very straighforward. Please make sure to set your public ssh key. It will be our way to connect to the server
SSH
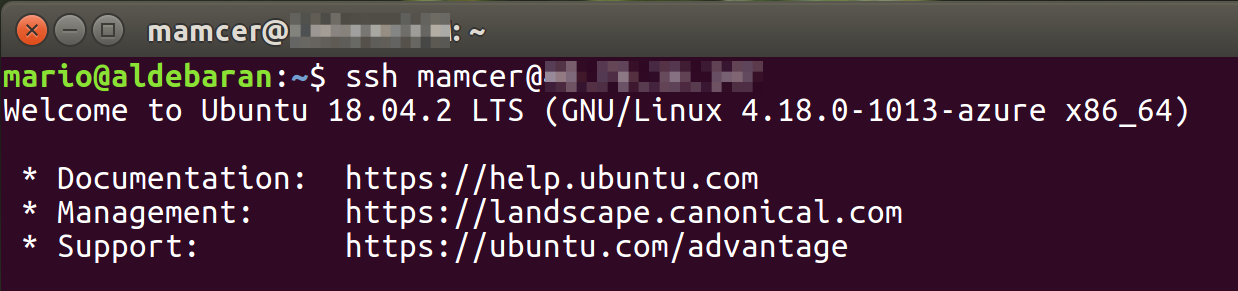
After Azure finishes provisioning the VM we can have access to the public IP address and then stablish our first ssh connection to the server
ssh [user]@[public-ip]
Set Timezone
Maybe for most configurations this isn’t neccesary but I wanted the server be configured in my same timezone (Buenos Aires, Argentina)
sudo timedatectl set-timezone America/Buenos_Aires
DB
image source https://docs.docker.com/install/linux/docker-ce/ubuntu/
sudo apt-get update

sudo apt-get install \
   apt-transport-https \
   ca-certificates \
   curl \
   gnupg-agent \
   software-properties-common

curl -fsSL https://download.docker.com/linux/ubuntu/gpg | sudo apt-key add -

sudo add-apt-repository \
  "deb [arch=amd64] https://download.docker.com/linux/ubuntu \
  $(lsb_release -cs) \
  stable"

sudo apt-get update

sudo apt-get install docker-ce docker-ce-cli containerd.io
Docker without sudo
sudo groupadd docker
sudo gpasswd -a $USER docker
newgrp docker
Initialize Database
docker run -e 'ACCEPT_EULA=Y' -e 'SA_PASSWORD=[password]' -p 1433:1433 -d --name [container-name] microsoft/mssql-server-linux:latest
Create database
docker exec -it myapp-db /opt/mssql-tools/bin/sqlcmd -S localhost -U sa -P P@ssw0rd

USE master;
GO
IF DB_ID (N'myapp') IS NOT NULL
DROP DATABASE myapp;
GO
CREATE DATABASE myapp;
GO
Verify the database files and sizes
SELECT name, size, size*1.0/128 AS [Size in MBs]
FROM sys.master_files
WHERE name = N'myapp';
GO
List tables
SELECT table_name FROM myapp.INFORMATION_SCHEMA.TABLES WHERE TABLE_TYPE = 'BASE TABLE'
Create migration script
dotnet ef migrations script --startup-project ../myapp.Api/myapp.Api.csproj > script.sql
Don’t forget to add “use myapp GO” as the first line otherwise it will create the tables in master database
copy to server
scp script.sql mamcer@[ip-address]:~
copy to container
docker cp ~/script.sql myapp-db:/script.sql
execute it in container
docker exec -it myapp-db /opt/mssql-tools/bin/sqlcmd -S localhost -U sa -P P@ssw0rd -i /script.sql
Nginx
sudo apt install nginx
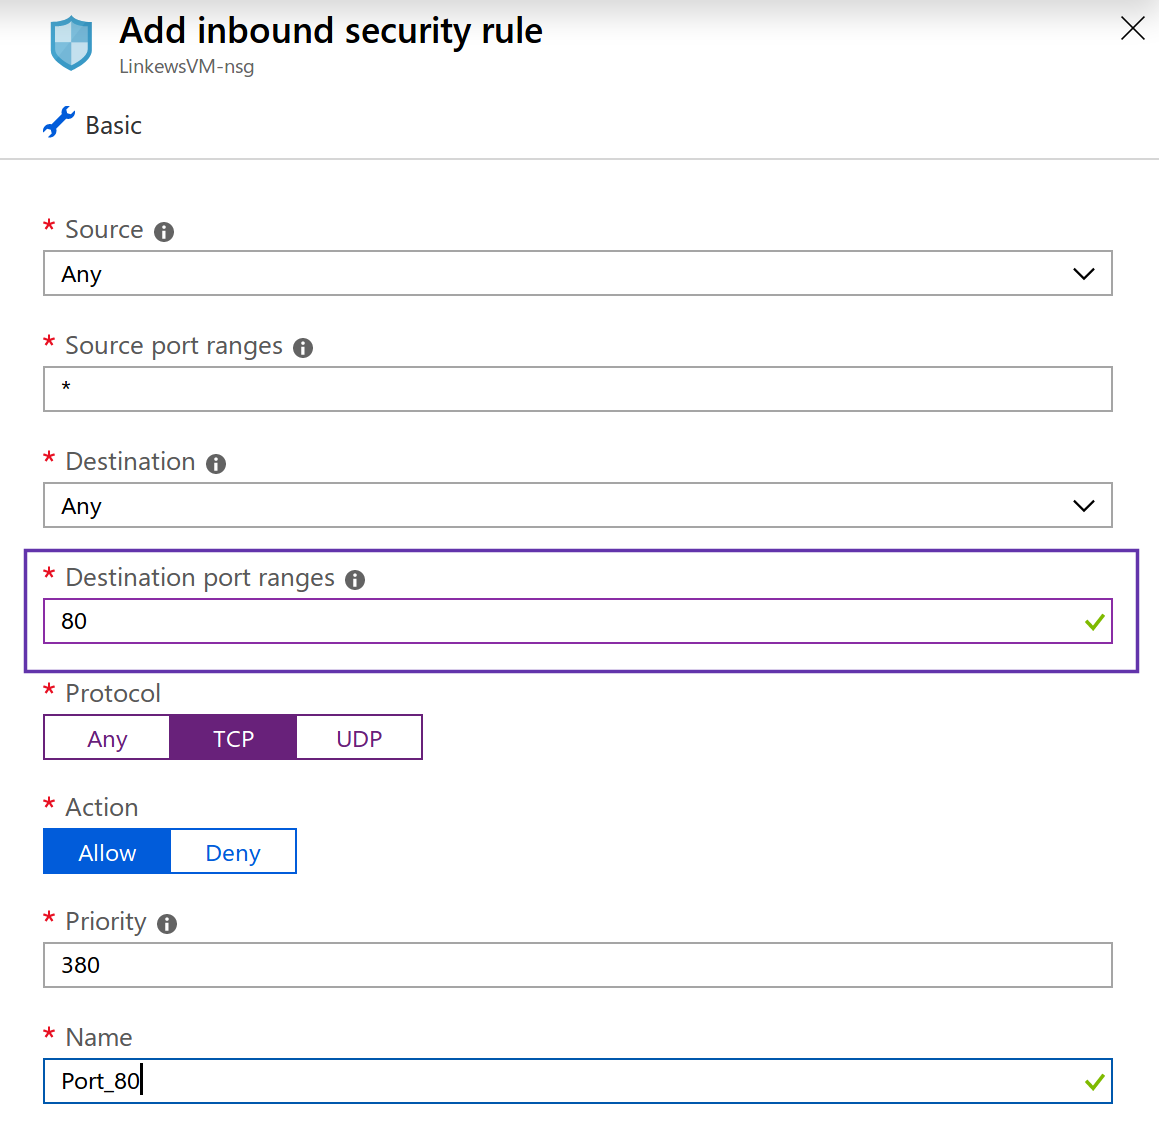
Azure open port 80
VM > Networking > Add inbound security rule
We can navigate to our public ip address to see the default nginx Welcome page and check installation.
Net Core
https://dotnet.microsoft.com/download/linux-package-manager/ubuntu18-04/sdk-current
wget -q https://packages.microsoft.com/config/ubuntu/18.04/packages-microsoft-prod.deb
sudo dpkg -i packages-microsoft-prod.deb
sudo add-apt-repository universe
sudo apt-get install apt-transport-https
sudo apt-get update
sudo apt-get install dotnet-sdk-2.2
Deploy App
/var/www/myapp.api

dotnet publish --configuration release --output out/
scp out/* mamcer@[ip-address]:/var/www/myapp.api
Configure Ngix reverse proxy
https://docs.microsoft.com/en-us/aspnet/core/host-and-deploy/linux-nginx?view=aspnetcore-2.2
server {
listen        80;
server_name   example.com *.example.com;
location / {
    proxy_pass         http://localhost:5000;
    proxy_http_version 1.1;
    proxy_set_header   Upgrade $http_upgrade;
    proxy_set_header   Connection keep-alive;
    proxy_set_header   Host $host;
    proxy_cache_bypass $http_upgrade;
    proxy_set_header   X-Forwarded-For $proxy_add_x_forwarded_for;
    proxy_set_header   X-Forwarded-Proto $scheme;
}
}
Validate config
sudo nginx -t
lets ngnx pickup the new config
sudo nginx -s reload
Execute Applications
dotnet myapp.Web.dll --server.urls http://localhost:5000
Run them as a service
https://docs.microsoft.com/en-us/aspnet/core/host-and-deploy/linux-nginx?view=aspnetcore-2.2
sudo vim /etc/systemd/system/myapp-api.service

[Unit]
Description=myapp API

[Service]
WorkingDirectory=/var/www/myapp.api
ExecStart=/usr/bin/dotnet /var/www/myapp.api/myapp.Api.dll --server.urls http://localhost:7000
Restart=always
# Restart service after 10 seconds if the dotnet service crashes:
RestartSec=10
KillSignal=SIGINT
SyslogIdentifier=myapp-api
User=www-data
Environment=ASPNETCORE_ENVIRONMENT=Production
Environment=DOTNET_PRINT_TELEMETRY_MESSAGE=false

[Install]
WantedBy=multi-user.target

sudo systemctl enable myapp-api.service
sudo systemctl start myapp-api.service
sudo systemctl status myapp-api.service

sudo chown -R user:user /var/www/myapp.portal/
sudo chmod 755 /var/www/myapp.portal/

sudo vim /etc/nginx/sites-available/default
Final thoughts
I didn’t try to recreate these steps in 2021 so the instructions described here are basically the steps documented at that moment. The screenshots were taken later but not so long after the initial notes. Hope someone find this guide or at least some of the steps described here useful