In this post I will explain all the steps I follow to create a default ASP .NET Core MVC application with Identity using MSSQL Server on Docker.
I’m using a Mac but the same steps (maybe with some slightly differences in Windows) should be valid for Linux and Windows.
Requirements
.NET Core
.NET Core installed, you can follow the steps from the official site: https://www.microsoft.com/net/learn/get-started/macos
Docker
Again you can follow the steps from the official site: https://www.docker.com/docker-mac
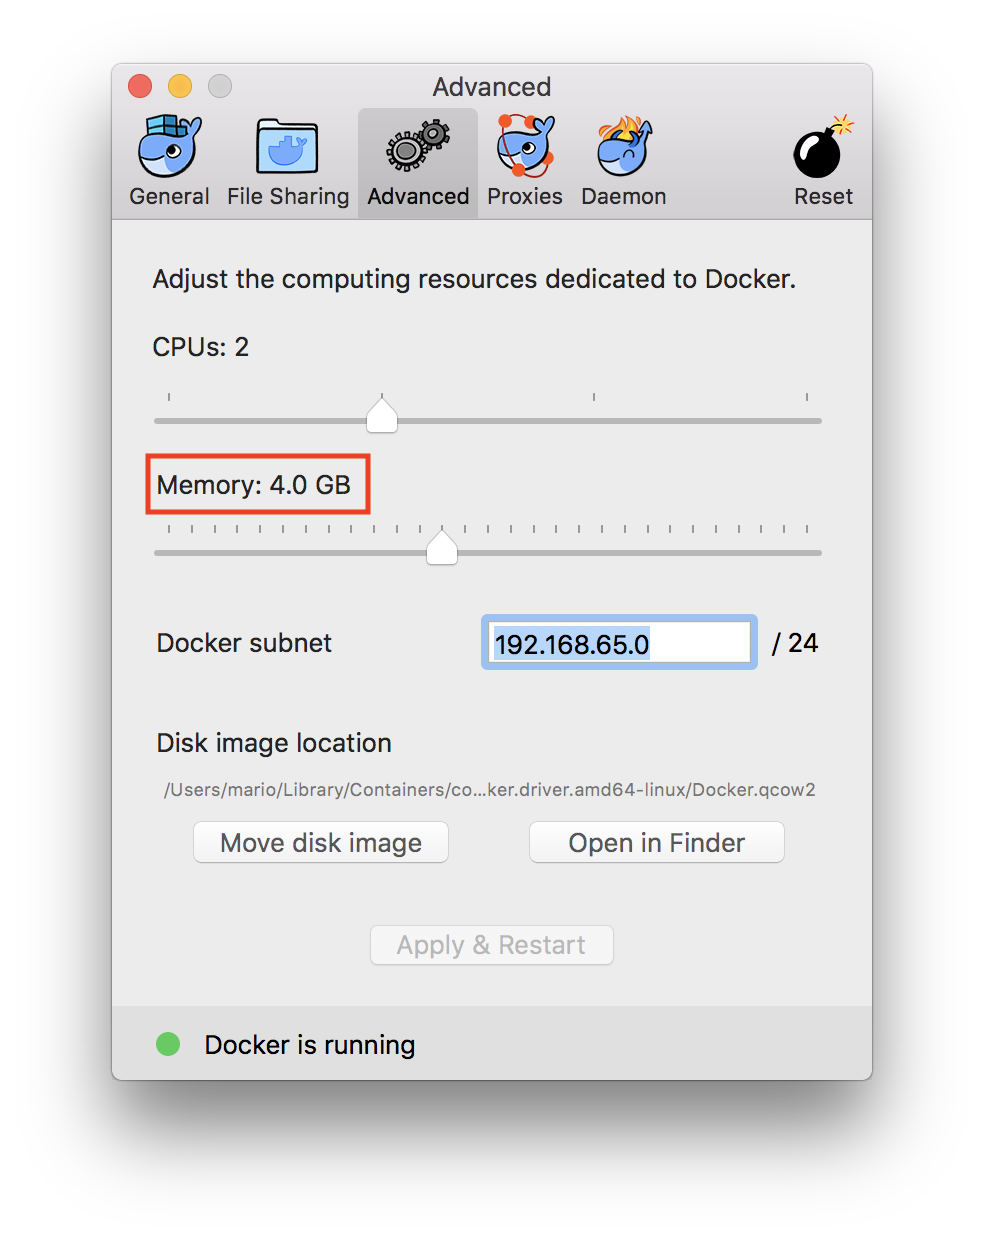
Docker for MSSQL Server requires 4GB of memory. Currently the default is 2GB but you can easily change it in Docker from Mac from the docker logo in the top status bar and select Preferences.

Create the MVC Application
From the terminal:
dotnet new sln -o Core.sln
dotnet new mvc -o Core -uld --auth Individual
dotnet sln add Core/Core.csproj
Quick explanation:
First create the solution file (optional, you can directly use a project file)
Then create a MVC web application, the -uld option is to use SQL Server instead of the default option (I think it’s SQL Lite) ant then the --auth Individual to use Individual identity accounts.
The last step is to include the project in the solution file.
Docker
Based on the official documentation: https://docs.microsoft.com/en-us/sql/linux/quickstart-install-connect-docker
First we need to get the SQL Server 2017 image:
docker pull microsoft/mssql-server-linux:2017-latest
Then we can run the container:
docker run -e 'ACCEPT_EULA=Y' -e 'MSSQL_SA_PASSWORD=<strong-password>' -p <local-port>:1433 --name <container-name> -d microsoft/mssql-server-linux:2017-latest
For example:
docker run -e 'ACCEPT_EULA=Y' -e 'MSSQL_SA_PASSWORD=P@ss2017' -p 1433:1433 --name core-sql -d microsoft/mssql-server-linux:2017-latest
You can validate that the container is running by:
docker ps

CONTAINER ID        IMAGE                                      COMMAND                  CREATED             STATUS              PORTS                    NAMES
279dcbb21e2b        microsoft/mssql-server-linux:2017-latest   "/bin/sh -c /opt/m..."   37 minutes ago      Up 37 minutes       0.0.0.0:1433->1433/tcp   core-sql
Configure Connection String
After the container is running we are ready to configure the connection string in our application. First we need to know our ip by for example running:
ifconfig
In my case 10.0.64.104
Then you can modify the appsettings.json ConnectionStrings section in the project.
"ConnectionStrings": {
    "DefaultConnection": "Server=10.0.64.104,1433;Database=CoreDev;User Id=sa;Password=<strong-password>;MultipleActiveResultSets=true"
Update Database
We are almost ready. There is only one step left before we can run the application. Update our database and create all the neccesary tables. In order to do that we can run in the project directory:
dotnet ef database update
After a couple of seconds our database should be created with all the necessary tables.
We can test this steps with docker and running sqlcmd (included in the image) to query the database and tables.
docker exec -it core-sql "bash"
/opt/mssql-tools/bin/sqlcmd -S localhost -U sa -P '<strong-password>'
1> select Name from sys.Databases
2> GO
As a result you should see all the databases, included our just created CoreDev database:
master
tempdb
model
msdb
*CoreDev*
We can also query for the tables inside our database:
SELECT TABLE_NAME FROM CoreDev.INFORMATION_SCHEMA.TABLES WHERE TABLE_TYPE = 'BASE TABLE'
Result
__EFMigrationsHistory
AspNetRoles
AspNetUserTokens
AspNetUsers
AspNetRoleClaims
AspNetUserClaims
AspNetUserLogins
AspNetUserRoles
Remember to include
GOafter every T-SQL query to execute it. AndQuitto exit sqlcmd interactive mode.
use CoreDev
GO
Changed database context to 'CoreDev'.

select * from __EFMigrationsHistory
GO
MigrationId                                                                                                                                            ProductVersion
------------------------------------------------------------------------------------------------------------------------------------------------------ --------------------------------
00000000000000_CreateIdentitySchema                                                                                                                    2.0.0-rtm-26452
Run Application
We have installed and configured all the requirements to run our MVC default web application using identity with SQL Server 2017 in docker.
The only step left is basically run the application:
dotnet run --project Core.csproj
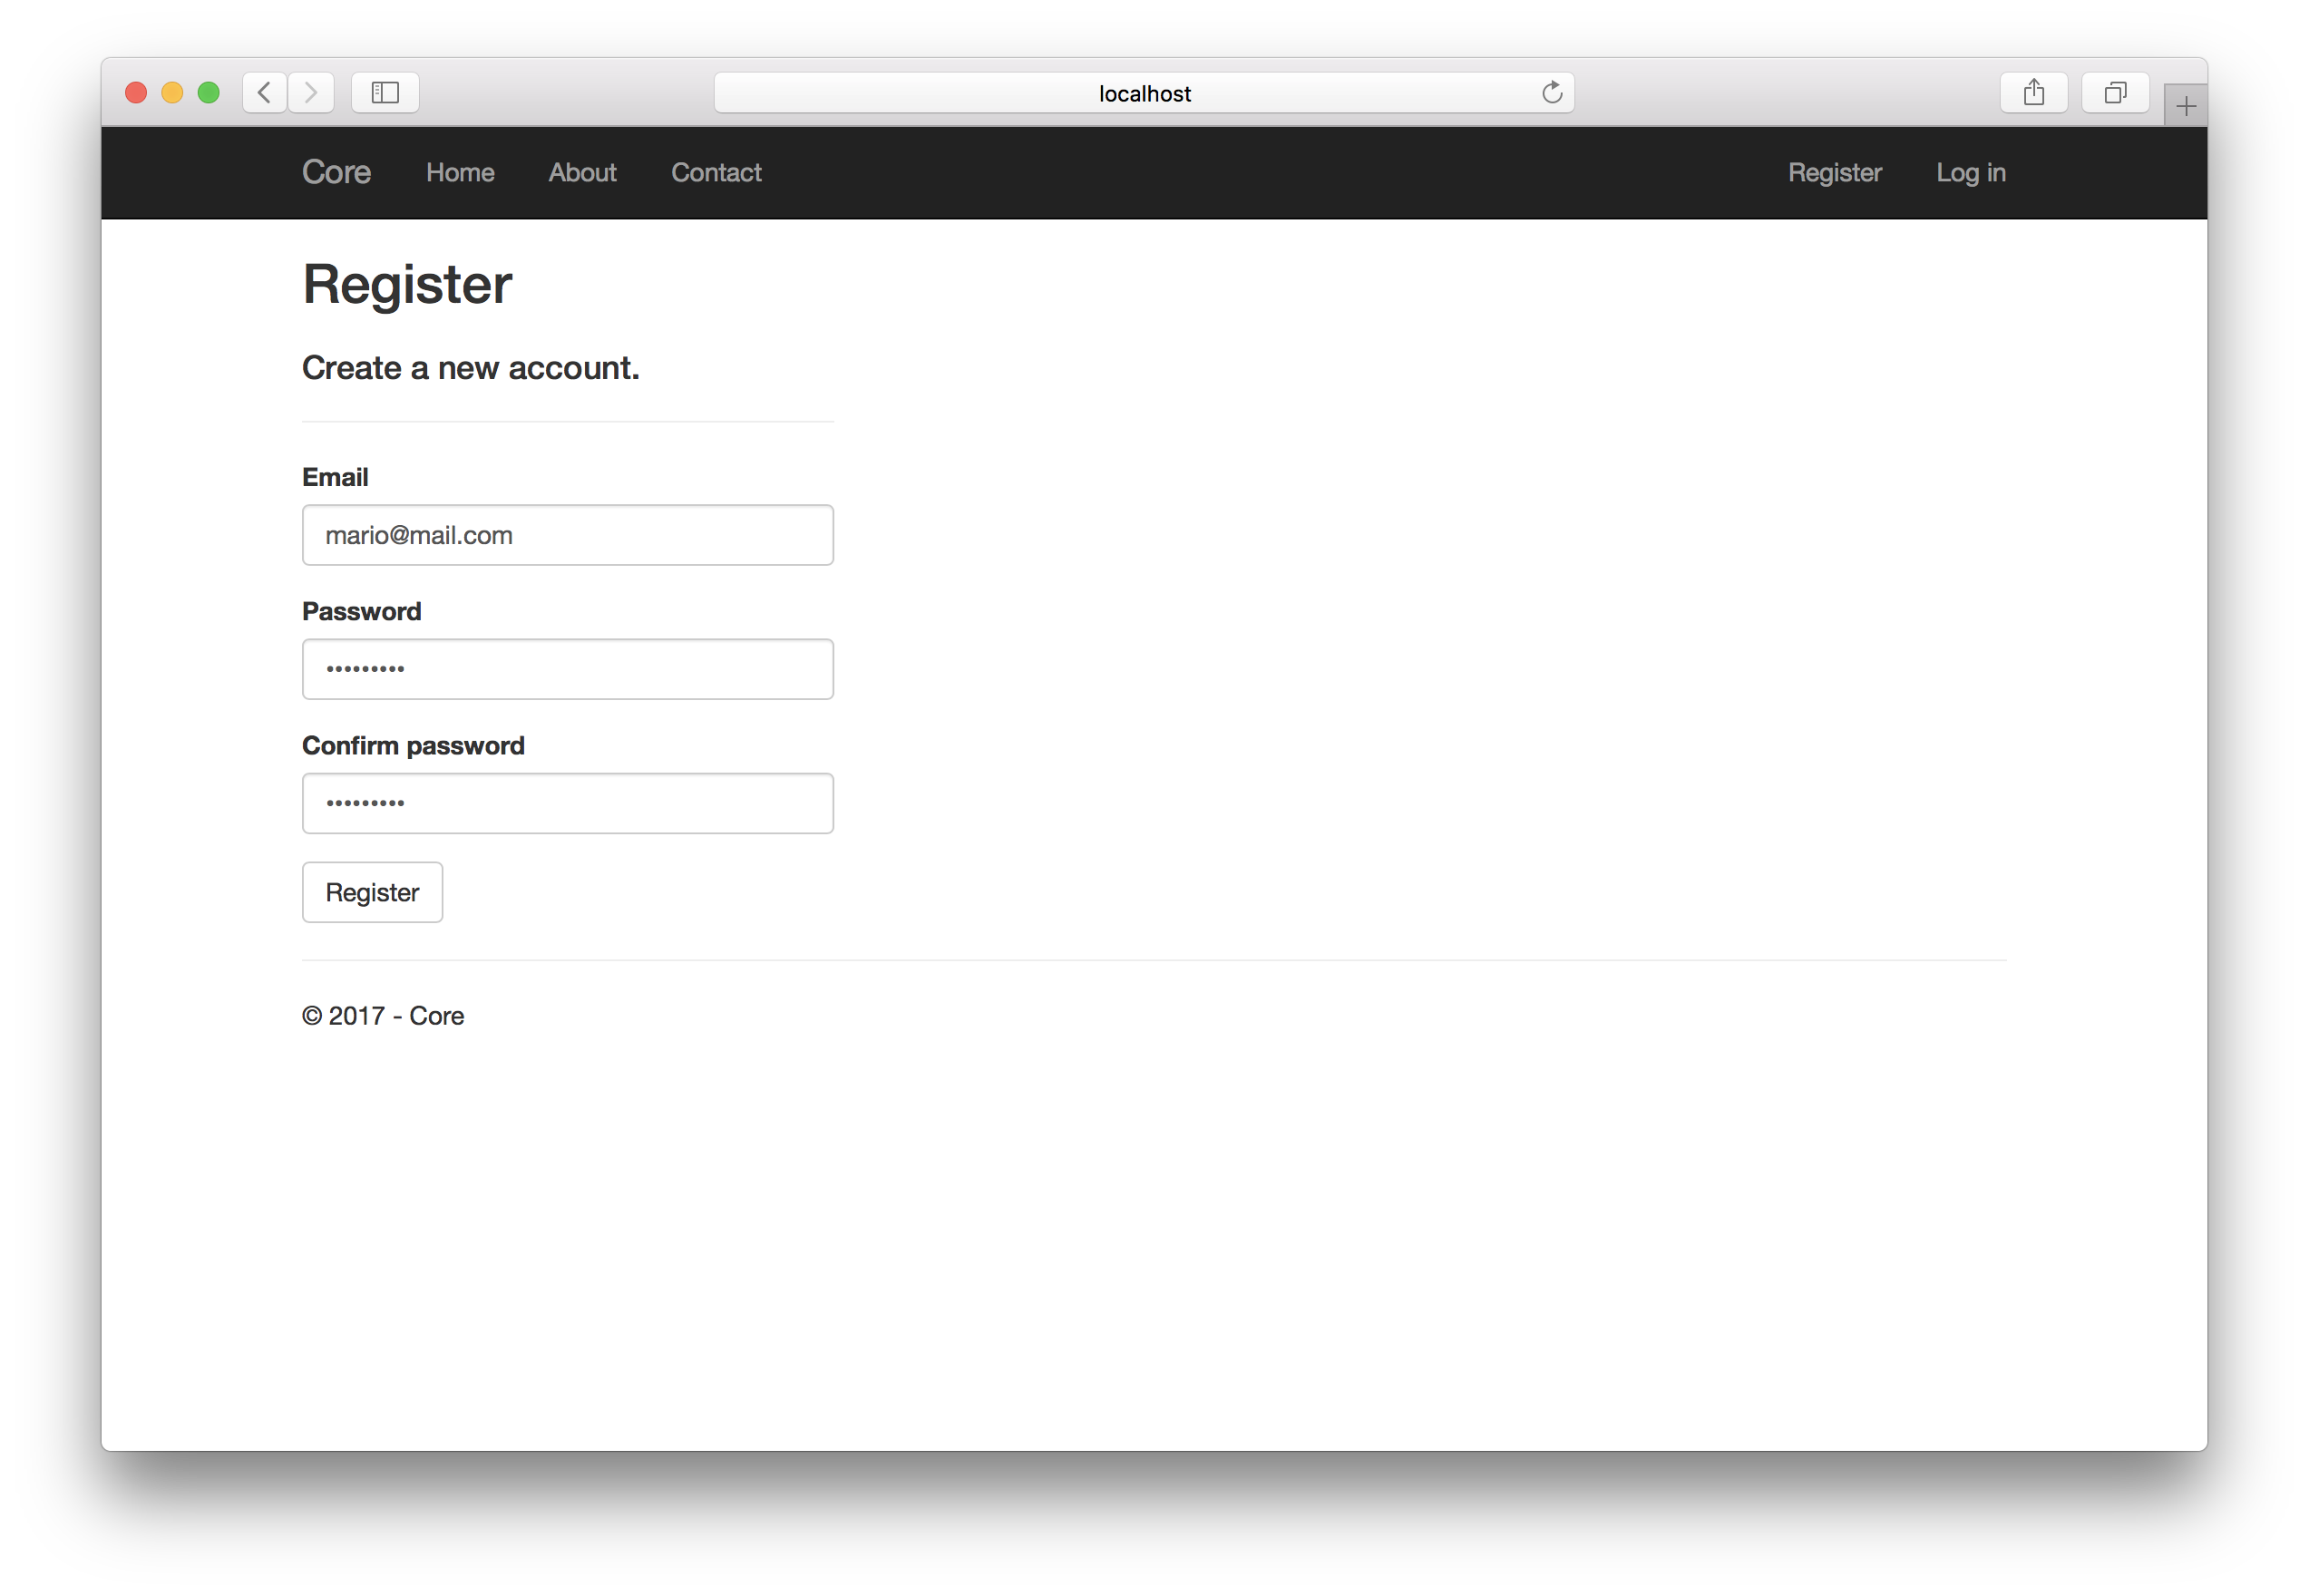
Navigate to http://localhost:5000 and create our first account by clicking on Register.

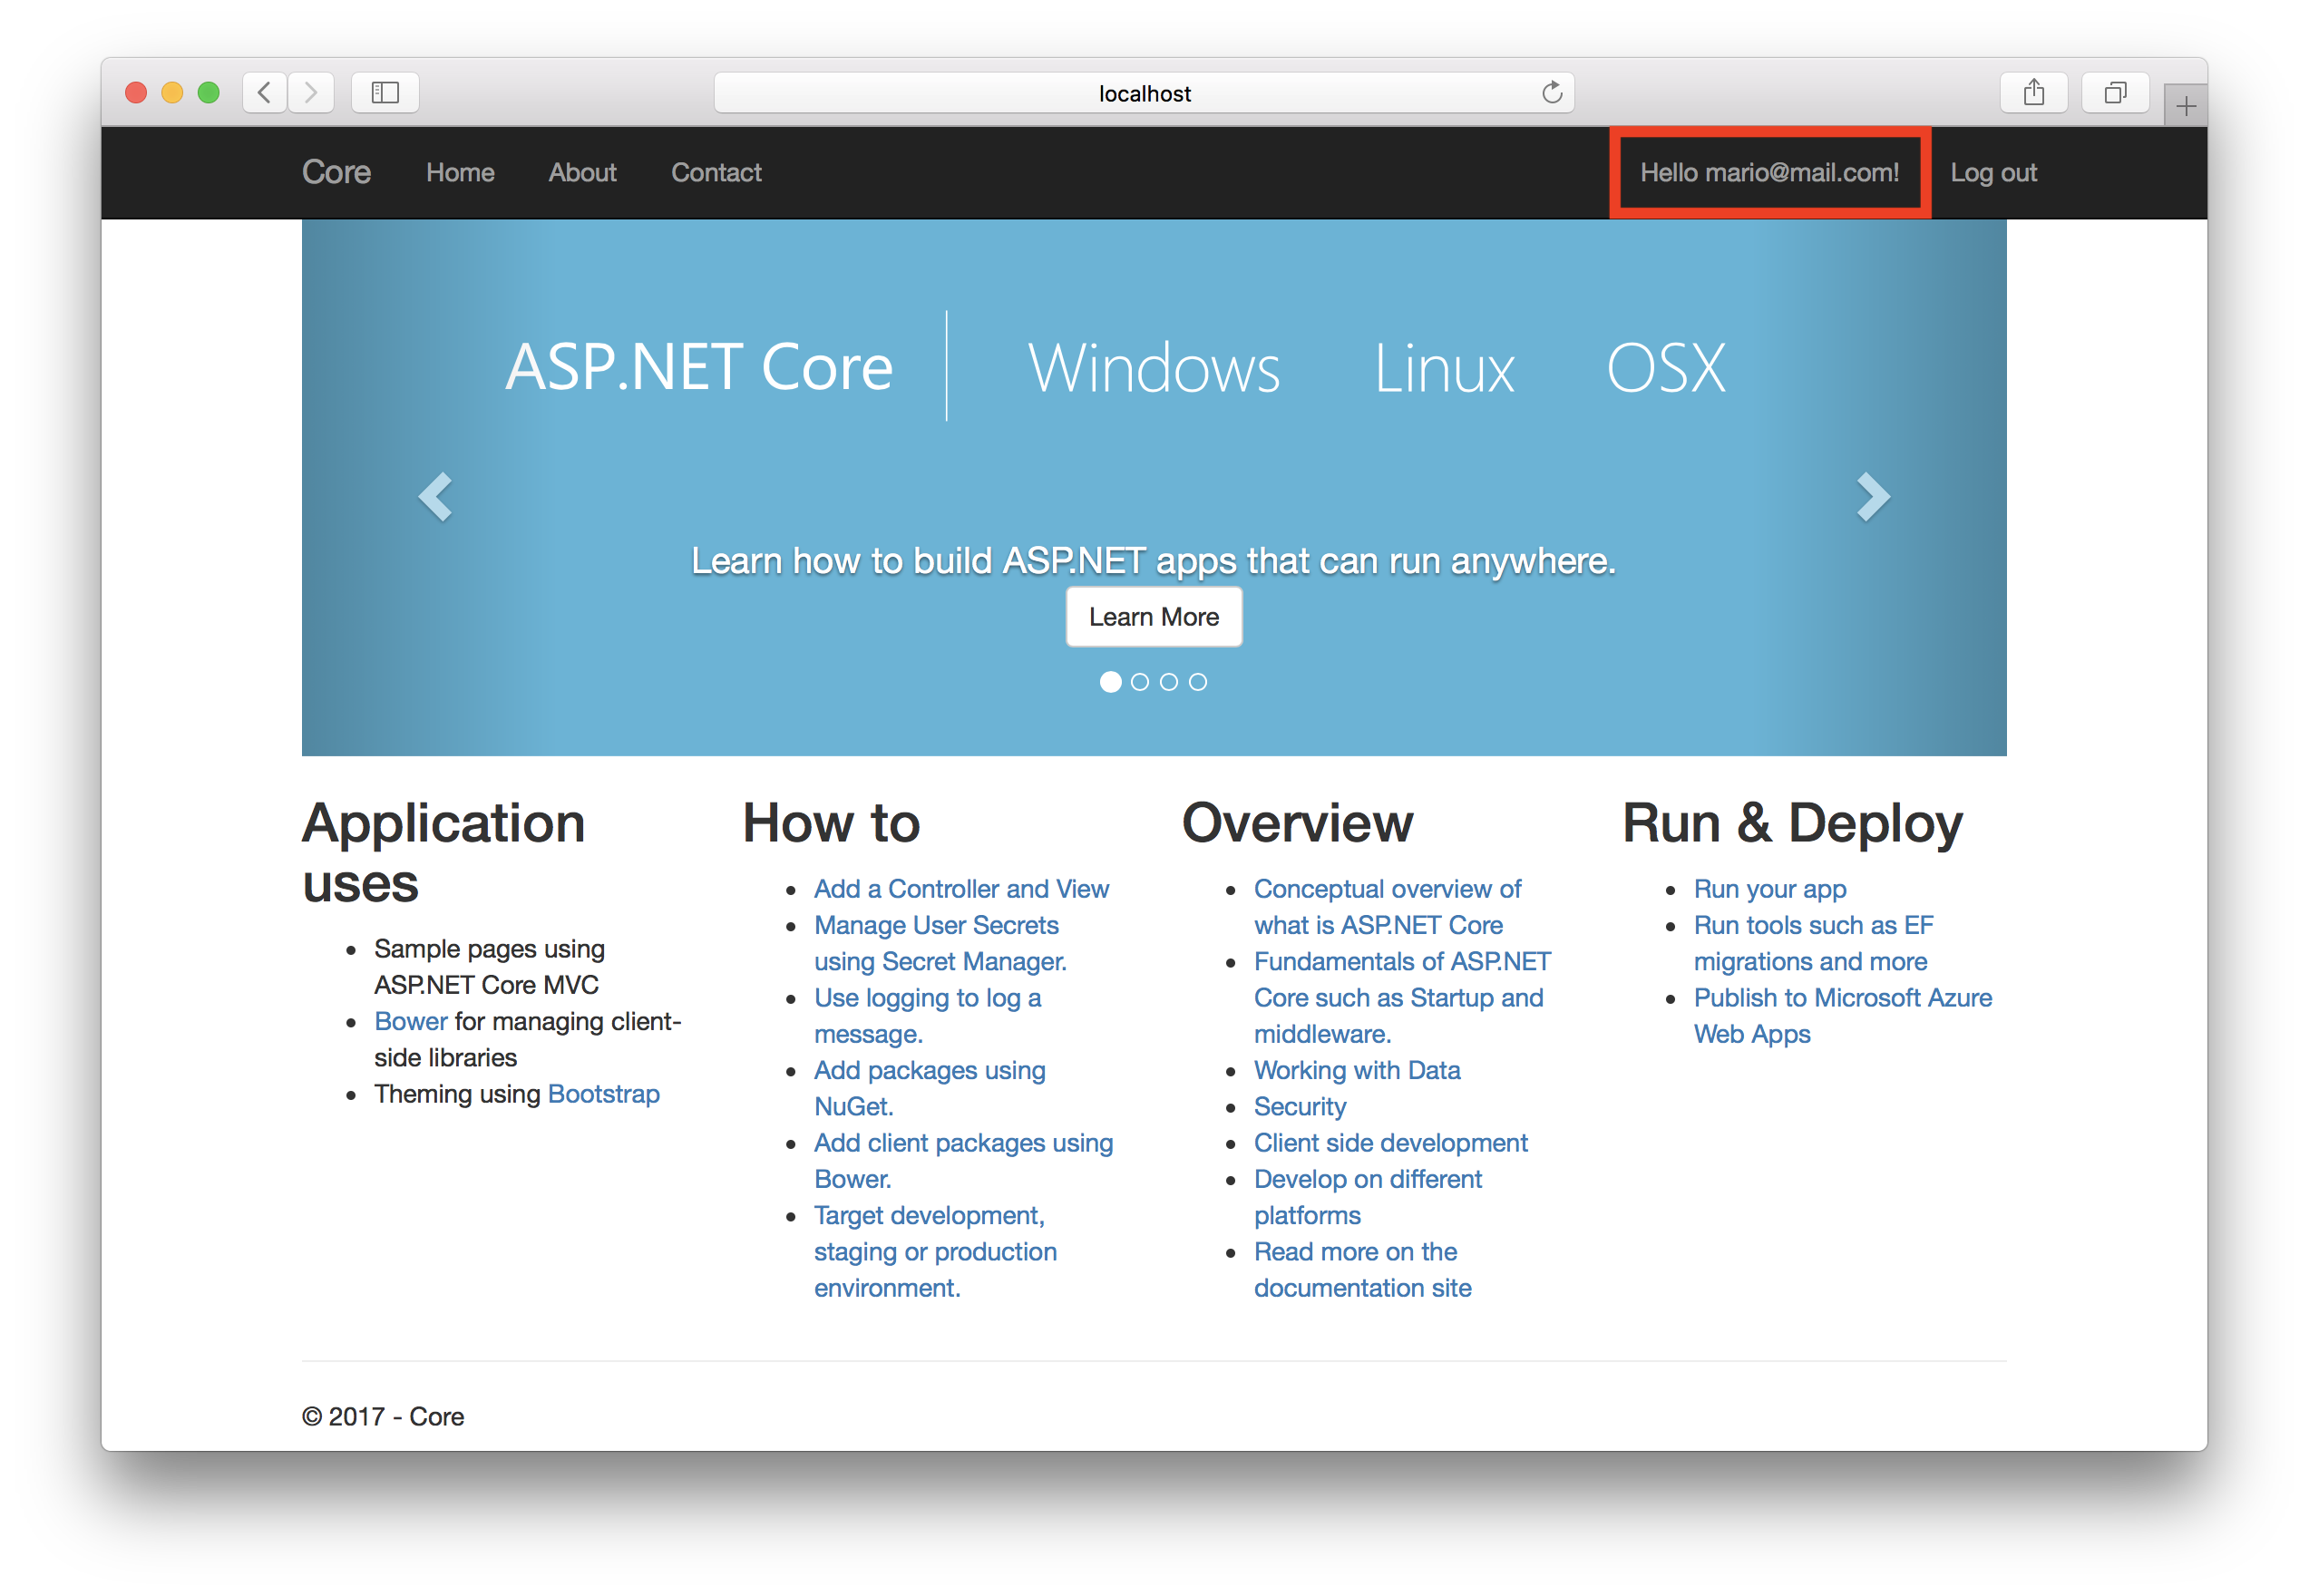
Click on Register and we will be automatically redirected to our Home as the newly created user.
